Let's get one thing straight: 360-degree photography isn't just a cool gimmick anymore. It’s the closest you can get to putting a product directly into your customer's hands through a screen. We're not talking about a simple photo gallery; we're talking about a dynamic, spin-it-yourself experience that answers questions customers didn't even know they had.
Why 360-Degree Photography Is a Conversion Powerhouse
Honestly, if you're serious about e-commerce, immersive visuals have moved from the "nice-to-have" list squarely into the "must-have" column. Why? Because they directly boost customer confidence, and confident customers click "buy."
The results aren't just fuzzy feelings; brands using 360-degree views see real, measurable lifts in their bottom line. When someone can digitally spin a product, zoom in on the texture, and inspect every angle, their hesitation just melts away.
Boosting Confidence and Slashing Returns
The biggest ghost in the machine for online shopping is the "touch-and-feel" gap. A 360-degree view is the best bridge we have over that gap. This isn't just about showing off; it's about building trust and, crucially, slashing product returns. When a customer knows exactly what's arriving, the odds of a "this isn't what I expected" return drop like a stone.
Imagine buying a high-end camera or a designer handbag online. A 360-degree view lets you check the ports on the back, see the grain of the leather, and inspect the stitching. Those are the details that build trust and make a premium price tag feel justified.
This kind of transparency sets expectations perfectly, making the customer feel secure before they even hit the checkout. It's proactive customer satisfaction.
The Market Is Screaming for It
This isn't just a hunch; it's a full-blown market earthquake. The global 360-degree camera market hit over $2 billion in 2024 and is projected to rocket past $27 billion by 2032.
That’s a compound annual growth rate (CAGR) of over 27%. The numbers don't lie. This technology is becoming the new standard for digital content, and ignoring it is like sticking with dial-up in a fiber-optic world.
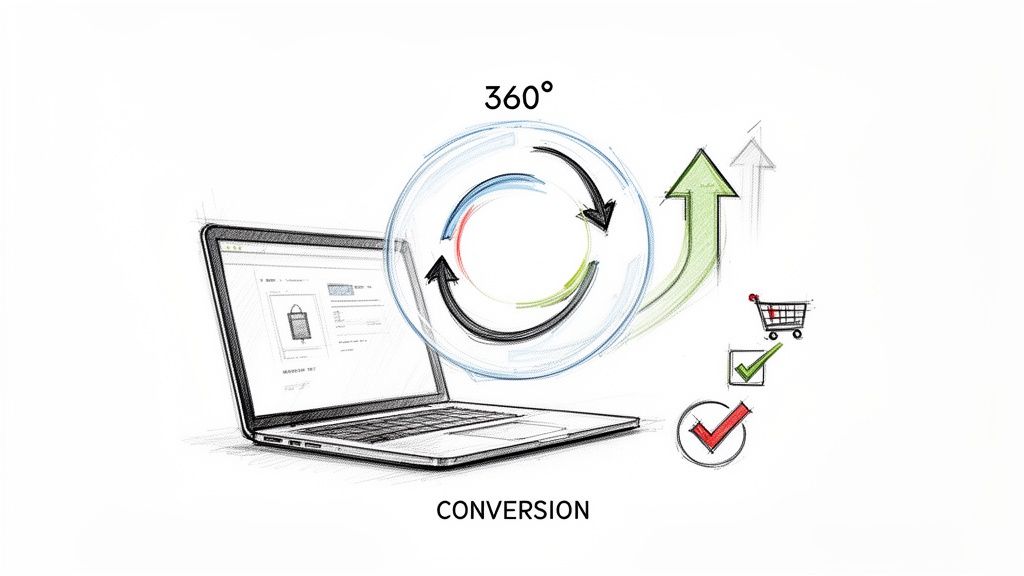
Turning Browsers into Buyers
At the end of the day, it's all about conversions. A richer, more informative product page simply helps people make up their minds faster. Here's the simple magic behind it:
- It’s Sticky: Interactive views keep people on your page longer. The more they play with the product, the more invested they become.
- It Sets You Apart: In a sea of static, boring product shots, a fully interactive view makes you the obvious choice.
- It Tells a Better Story: You get to show off every feature and design choice, telling a complete product story from every possible angle.
If you're ready to get your hands dirty with the setup, lighting, and angles needed for these killer interactive shots, a great starting point is The Complete Guide to 360 Product Photography for Immersive Visuals. Nailing the basics is your first step to making this work for you.
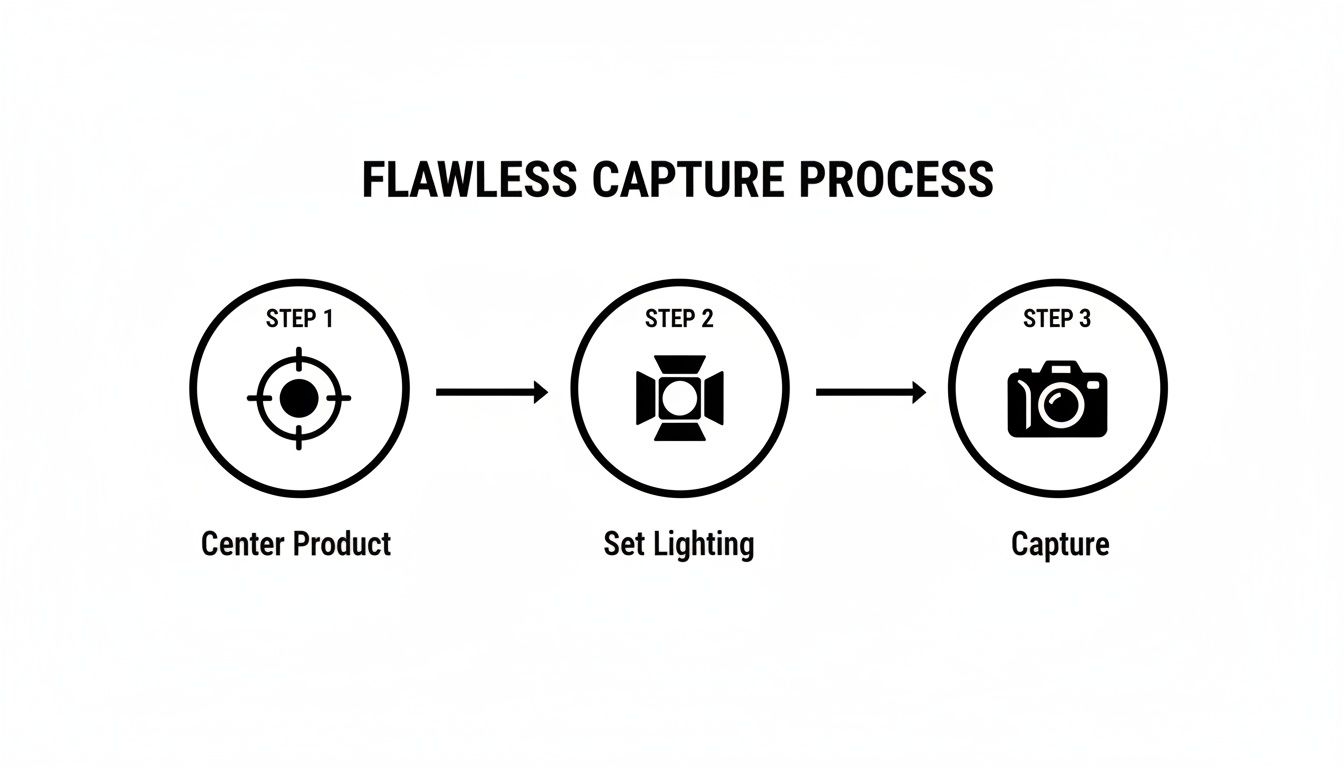
Nailing the Perfect 360 Capture Workflow
Let's get down to brass tacks. Great 360 degree photography isn't about luck; it's about a rock-solid, repeatable process. This is your field guide to getting it right every single time, focusing on the details that elevate your shots from "good enough" to "add to cart."
Think of this as your pre-flight checklist. A little discipline upfront will save you from a world of hurt in post-production. Trust me on this.
Center Stage: Getting the Perfect Spin
The absolute make-or-break element of a 360 spin is a perfectly centered product. If it's even a hair off-axis, you get this wobbly, seasick effect that just screams amateur hour. This is one rule you can't bend.
Here's a simple trick: stick a tiny, temporary marker right in the dead center of your turntable. Looking straight down from above, line up your product’s central point with that marker. For weirdly shaped items, you'll have to eyeball their "visual center of gravity"—the point where they just look balanced as they turn.
This setup from Wikipedia is a great visual reference. It shows a classic, controlled environment for capturing a 360 view.
Look at what's going on here: a clean, consistent backdrop and what looks like diffused lighting. That’s the secret sauce for avoiding harsh shadows and getting clean, professional shots.
Let There Be (Consistent) Light
Lighting is where the magic happens. Your mission is to wrap your product in even, consistent light, killing any harsh reflections along the way. If your lighting changes even slightly from one frame to the next, you'll see a distracting "flicker" in the final spin, which completely ruins the experience.
Struggling with glossy or metallic products? You need massive, soft light sources. Think big softboxes, scrims, or diffusion panels to spread that light out.
- Key Light: This is your MVP, your main light, usually set at a 45-degree angle to your product.
- Fill Light: Placed on the opposite side, this one is less powerful and just there to soften any shadows created by the key light.
- Backlight (Optional): A little pop from behind can help separate the product from the background, adding a touch of depth.
Once you have your lighting dialed in, lock it down. Don't touch a thing. And for the love of all that is holy, stay away from windows—shifting natural light is your mortal enemy.
The rookie mistake I see all the time is using a single, hard light source. You get these sharp, ugly hotspots that dance all over the product as it turns, yanking the viewer's attention away from what they should be looking at. Diffuse, diffuse, diffuse!
How Many Frames Do You Really Need?
So, how many photos should you snap for one full rotation? This is the eternal battle between buttery-smooth motion and website performance. More frames look amazing, but they create heavier files that can slow your page to a crawl.
Here’s my real-world breakdown for e-commerce:
- 24 Frames (15° steps): This is the bare minimum. It gets the job done, but the spin can feel a little jerky. It's fine for internal use or when load speed is absolutely critical.
- 36 Frames (10° steps): Now we're talking. This is the industry standard for a reason—it offers a fantastic balance of smooth rotation and manageable file sizes. It's my go-to for most product pages.
- 72 Frames (5° steps): The luxury choice. This delivers an incredibly fluid, high-end experience that's perfect for premium goods, intricate machinery, or any product where you want to ooze quality.
For most projects, 36 frames is the sweet spot. It looks polished and professional without making your customers wait. As you set up your gear, just make sure your turntable software and camera are synced up to shoot at these exact intervals.
Ultimately, a clean capture makes the next steps a breeze. By mastering centering, lighting, and frame count now, you’re paving the way for smooth automation later. The better your source images are, the more effectively AI tools can handle things like background removal and fine-tuning. For a look at what's next, you can see how a modern AI-powered product studio automates these often-painful editing tasks.
Building Your Automated AI Processing Pipeline
Shooting the photos is the fun part. The real soul-crushing work—the stuff that kills deadlines and sucks the life out of your creative team—is the editing. Now, imagine editing 36, or even 72, individual photos for every single product you sell. It’s not just a drag; it’s a massive bottleneck that stops your 360° photography dreams dead in their tracks.
This is where we swap brute force for brains and build a completely hands-off, API-driven assembly line for our images. We're going to set up a workflow that grabs your raw photos and spits out perfect, store-ready assets without you lifting a finger. No more late-night Photoshop sessions. Just a slick, automated pipeline that hums along in the background.
First things first, though. Garbage in, garbage out. The whole automated magic show depends on getting the capture process right from the start.
The formula is simple but you can't skip it: get the product perfectly centered, lock in your studio lighting, and follow a strict capture sequence. These high-quality raw materials are exactly what our AI pipeline needs to do its best work.
Starting with Flawless Background Removal
The first domino to fall in our automated pipeline is background removal. Nothing screams "professional e-commerce" like a clean, consistent background (usually pure white or transparent). Trying to do this by hand for a 36-frame spin is enough to make a seasoned photo editor question their life choices.
An API call is our secret weapon here. Forget opening each image one by one. You can programmatically fire your entire batch of raw shots to a service like PixelPanda. Their AI models have seen millions of images, so they know exactly where your product ends and the background begins—even with fuzzy things like fur, stray hairs, or intricate edges.
The result? A full set of perfectly clipped images with transparent backgrounds, all ready for the next step. This one automated move can shave hours of mind-numbing work off each product. Don't believe me? Try it yourself. This live background removal demo shows you just how fast an AI can nail a complex cutout.
Erasing Imperfections with AI Inpainting
Okay, the background is gone. But now you've got a new problem: the edge of the turntable, any support wires, or little props you used for staging are sticking out like a sore thumb. This is where AI inpainting jumps in, acting like a super-smart magic eraser that works at scale.
Inpainting algorithms look at the pixels around the thing you want to remove and intelligently fill in the blank space, making it look like it was never there. Automating this is surprisingly straightforward:
- Pinpoint the Problem: Since it’s a 360° spin, the rig or turntable edge will be in pretty much the same spot in every shot. Just define a mask or a set of coordinates for that area on a single image.
- Apply to All: Send an API call that applies that same mask to all 36 images in your sequence.
- Watch the Magic Happen: The inpainting model gets to work on each frame, essentially "guessing" what the part of the product it couldn't see should look like.
This trick is a lifesaver for products that can't stand up on their own, like jewelry, handbags, or funky-shaped electronics. It creates that cool, floating effect that puts all the focus right where it belongs: on your product.
By chaining these API calls—background removal first, then inpainting—you've just automated the two biggest time-sinks in the entire editing process. This is the heart of a truly scalable workflow.
Upscalinghttps://pixelpanda.ai/free-tools/enhance-photo”>Upscaling for Crystal-Clear Zoom
Our images are clean and floating, but we're not done yet. We need them to be tack-sharp. Modern shoppers expect to zoom way in to inspect the details, and a blurry, pixelated image instantly kills trust and makes you look amateur.
AI upscaling is the final polish. Old-school resizing just stretches the pixels, leaving you with a soft, fuzzy mess. AI upscalers are different; they’ve been trained to add realistic detail where there was none. They can blow up an image by 2x or even 4x its original size while keeping—and sometimes even improving—the sharpness of textures and edges.
By running your cleaned and inpainted images through one last upscaling API, you guarantee every frame in your 360° view is ready for its close-up. When a customer zooms in to see the stitching on a leather bag or the weave of a fabric, the image holds up, reinforcing just how high-quality your product really is.
So, you’ve put in the work. You’ve shot, edited, and upscaled a gorgeous set of 360-degree product images. Now for the moment of truth: getting them in front of your customers without grinding your website to a screeching halt.
This final step is all about giving your 360 degree photography the five-star treatment it deserves. After all, a beautiful 360 spin that takes ten seconds to load is probably worse than having no spin at all. Let's make sure all that effort pays off with a buttery-smooth experience that feels lightning-fast.
Picking Your Player: The 360 Viewer
To bring your image sequence to life, you’ll need a JavaScript viewer. This little engine runs on your product page, handling the magic of swapping frames as a customer drags their mouse or swipes their finger. There are a handful of great options out there, each with its own flavor.
Here's a quick rundown of some of the heavy hitters. I've seen teams succeed with all of them, but the best choice really depends on your specific setup and technical comfort level.
Popular 360 Viewer Libraries Compared
| Viewer Library | Key Features | Performance Impact | Best For |
|---|---|---|---|
| Sirv | All-in-one DAM, hosting, and viewer. Rich customization. | Medium | Businesses wanting a fully managed, end-to-end solution for all their media. |
| Magic 360 | Polished UI, great performance, excellent support, platform plugins. | Low to Medium | E-commerce stores (Shopify, BigCommerce, etc.) looking for a reliable, premium, plug-and-play experience. |
| Cloudimage 360 Image Viewer | Lightweight, open-source, highly flexible, lazy loading built-in. | Very Low | Developers building custom sites who need maximum control and performance without the fluff. |
While features are great, don't forget to look under the hood. How big is the script? Does it support lazy loading? How's the documentation? Answering these questions now will save you from major performance headaches down the road.
My two cents: If you're running a Shopify store and just want something that works beautifully out of the box, a dedicated app like Magic 360 is often the path of least resistance. But if you’re a developer building a custom front-end, the raw speed and flexibility of an open-source library like the Cloudimage 360 Image Viewer is an absolute dream to work with.
Don't Mess Up the User Experience
A truly great 360 viewer feels invisible—like a natural extension of the user's hand. Getting the UX right is less about fancy features and more about nailing the fundamentals.
The controls have to be brain-dead simple. Users instinctively know to click and drag. On mobile, it's a finger swipe. Period. Resist the urge to clutter the screen with extra buttons; the product and the interaction are the stars of the show.
Zoom is also completely non-negotiable. Customers need to inspect the stitching, texture, and details. Make sure the zoom is smooth and activates intuitively, like on a double-tap or with a clean icon. This is where your AI upscaling work really shines—no matter how deep they zoom, the image stays perfectly crisp.
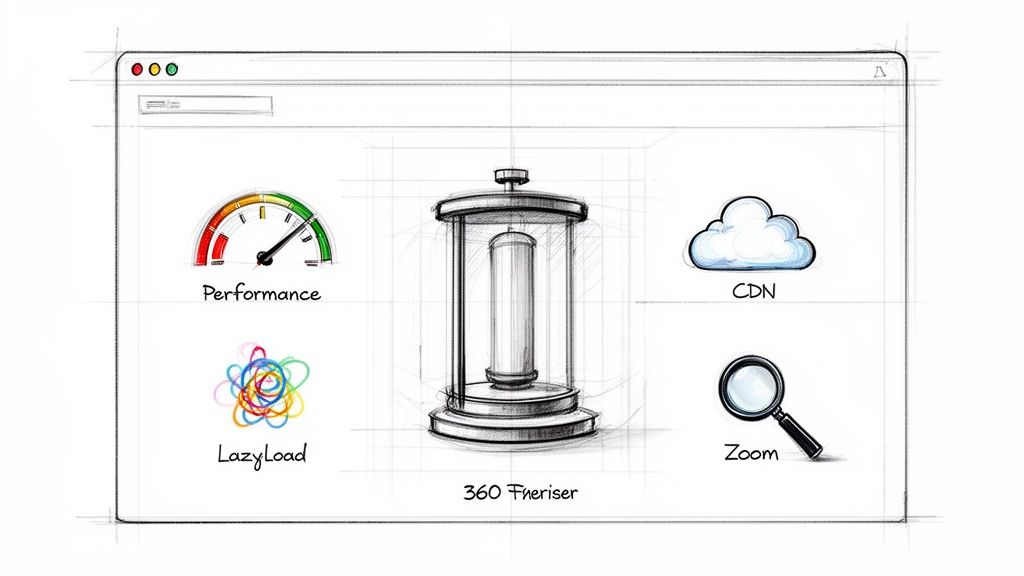
Performance Isn’t a Feature, It’s a Prerequisite
Let me be blunt: a slow 360 viewer will absolutely kill your conversion rates. Page speed is everything for both user happiness and your SEO rankings. If your interactive spin introduces a noticeable lag, you’ve just sabotaged all your hard work.
This is where optimization becomes your secret weapon.
Your Performance Playbook
-
Lazy Load Everything: This is the single most important trick in the book. Instead of forcing a visitor's browser to download all 36 or 72 images at once, a lazy-loaded viewer only pulls the first few frames. The rest are fetched on demand as the user starts spinning. It’s a game-changer for your initial load time and Core Web Vitals.
-
Serve Next-Gen Formats: Stop serving clunky old JPEGs. Modern formats like WebP and AVIF deliver the same visual quality at a fraction of the file size. We're talking a 30-50% reduction in image weight, a massive win for mobile users on spotty connections. Most modern CDNs can handle this format-switching for you automatically.
-
Get on a CDN (Content Delivery Network): If you're not using a CDN, you're leaving speed on the table. A CDN stores copies of your images on servers all over the world. When a customer from London visits your site, the images are served from a local European server, not from your primary server in California. This slashes latency and makes your viewer feel incredibly responsive for a global audience.
Getting Your 360° Views to Play Nice with Google
Interactive content is a fantastic way to wow your customers, but if you're not careful, it can create a real mess for search engines. A single 360° view is made up of dozens of individual photos, which can slow your site to a crawl and send some seriously confusing signals to Google's bots.
So, let's figure out how to make this rich media an SEO superpower, not an anchor dragging your rankings to the bottom of the ocean.
The core problem is simple: how do you load 36 or more images for one product without killing your page speed or accidentally creating a duplicate content fiasco? It's all about striking a balance between an amazing user experience and smart, technical SEO.
When you get it right, your 360° photography can actually give your rankings a healthy boost by keeping people on your page longer and encouraging them to interact.
Taming the Image Beast
First things first: you absolutely cannot let Google index all those individual frames as separate, flimsy pages. Can you imagine a search engine finding 36 almost identical pictures of the same running shoe, each with zero unique content? That’s a massive red flag for duplicate content.
Here’s how you shut that down:
- Use your
robots.txtfile: The cleanest and simplest way is to add a rule that blocks crawlers from the directory where you store all those 360° frames. This basically tells search engines, "Nothing to see here, folks, move along." - Implement the
X-Robots-Tag: If you want more surgical control, you can configure your server to send anoindexHTTP header for the image files themselves. This is a bit more technical but extremely precise.
This strategy forces Google to focus all its attention—and ranking power—on your main product page, which is exactly where you want it.
The goal is for Google to see one rich, comprehensive product page, not dozens of thin, repetitive image pages. Don't let your awesome media create SEO chaos. Controlling what the crawlers see is your first and most important job.
The Power of a Static Fallback Image
Here's a fun fact: search engine crawlers don't spin your product around. They see code. They need a simple, static image to analyze, and that's where a "poster" or fallback image comes into play.
Your 360° viewer should always be configured to show a primary, high-quality static image first. This is usually the very first frame or just a really compelling hero shot of the product. This single image is what the crawlers will latch onto, and it’s what will show up in Google Images.
This one move accomplishes three critical things:
- It gives crawlers a clean entry point: They have one clear, definitive image to associate with your product. Simple.
- It makes your site accessible: Anyone with JavaScript turned off or using a screen reader will still see a great product photo instead of a broken widget.
- It makes your page feel faster: This static image can load in a flash while the heavier scripts and all the other frames load in the background.
It really is the best of both worlds: fully interactive for your customers, and beautifully simple for the bots.
Don't Skip Schema Markup and Alt Text
Okay, so we have a primary image for the crawlers. Now we need to tell them what it is. This is where you get to spoon-feed Google all the juicy details.
Your main fallback image needs descriptive, keyword-rich alt text. Don't just leave it as "IMG_8821.jpg." Write something a human would understand, like, "Front view of the Apollo running shoe in midnight blue." This helps search engines and visually impaired users know exactly what they're looking at.
Even better, wrap your product and its images in structured data using Schema.org markup—specifically, the Product and ImageObject types. This is like giving Google a neatly organized spec sheet about your product, including its name, price, reviews, and all its associated images. To get a sense of how different assets are organized, it's worth exploring a well-structured PixelPanda Product Catalog.
And of course, don't forget the fundamentals. Layering these 360°-specific tactics on top of general SEO best practices to get more traffic to your ecommerce stores is what truly turns your interactive content into an organic growth engine.
Your 360° Photography Questions Answered
Diving headfirst into 360° degree photography is a blast, but let's be honest—it opens a can of worms. Whether you're a developer trying to build a bulletproof workflow or an e-commerce manager chasing that perfect product spin, a few common questions always seem to surface.
Think of this as your go-to FAQ, built from years of trial and error. We've collected the most common sticking points and laid out some straight-up answers to help you sidestep the usual headaches.
How Many Photos Make the Perfect Spin?
There's no single magic number here. It's a constant balancing act between that buttery-smooth motion everyone loves and the reality of page-load times. But after countless projects, a few clear standards have definitely shaken out.
For most e-commerce sites, 36 images is the sweet spot. That works out to one photo for every 10 degrees of rotation. It gives you a fluid, professional spin without making your website grind to a halt.
- 72 images (every 5 degrees): This is the gold standard. You get an incredibly seamless rotation that’s perfect for luxury items or complex products where customers want to zoom in on every last detail.
- 24 images (every 15 degrees): This is your performance-first, budget-friendly option. The spin will be a bit choppier, but it’s a solid compromise when you absolutely have to prioritize speed above all else.
Honestly, though, 36 frames almost always hits the mark. It delivers a high-quality user experience that feels polished and responsive, giving you the best of both worlds.
Can You Really Automate Removing the Turntable?
Oh, absolutely. And frankly, this is where a modern, API-driven workflow really shows its power. Trying to manually edit the turntable or support rig out of 36 different photos is a one-way ticket to misery. Automation is your best friend here.
The process is usually a slick, two-part combo. First, you run every single frame through an automated background removal tool. This instantly isolates your product but often leaves behind little bits and pieces of the stand it was sitting on.
That’s where the second step comes in. You use an AI inpainting API to intelligently paint over whatever’s left of the rig. The best part? Since the turntable is in the exact same spot in every frame, you can define that "erase zone" just once and apply the same mask across the entire image sequence. It’s a massive time-saver.
The most common and costly mistake I see is inconsistent lighting and an off-center product. If the lighting flickers even slightly between shots, you get this awful strobe effect. If the product isn't perfectly centered, it will look like it's wobbling all over the place. Fixing either of these in post-production is a total nightmare—so nail it during the shoot.
Is It Possible to Shoot 360° Views with Just a Phone?
Look, a dedicated 360° camera or a proper DSLR setup on a turntable will always deliver the best quality, no question. But you can get surprisingly far with just a smartphone. Some apps use some clever AI to stitch a panoramic photo into a full 360-degree image, even filling in the top and bottom to create a complete sphere.
This approach is fantastic for things like virtual tours of real estate or event spaces. For crisp, professional 360° degree photography of products, though? A controlled studio setup with a turntable is still the king. It’s the only way to reliably get that clean, floating-on-a-white-background look that actually drives e-commerce sales.
Ready to stop wasting time on manual editing and build an automated image processing pipeline that scales? With PixelPanda, you can integrate powerful AI tools for background removal, inpainting, and upscaling directly into your workflow. Get started for free and see how our API can transform your visual production.