Why Your Product Photography Lighting Setup Makes or Breaks Sales

The difference between a product that sells and one that languishes in your inventory often comes down to a single factor: lighting. When shoppers can’t physically touch or examine your products, your product photography lighting setup becomes the primary tool for building trust and driving conversions. Poor lighting creates shadows that hide details, generates unflattering color casts, and makes even premium products look cheap.
Research from the Baymard Institute reveals that 56% of online shoppers cite product images as the most important factor in their purchasing decision—more influential than reviews, descriptions, or price. Yet most e-commerce sellers invest hundreds or thousands in inventory while shooting products with whatever light happens to be available in their spare room.
The good news? You don’t need a $10,000 studio to create professional product photos. With the right product photography lighting setup—one that costs under $500—you can match or exceed the quality of images from brands spending 10x more. The secret lies in understanding light behavior, not owning expensive equipment.
Before diving into specific setups, let’s address a critical point: lighting isn’t just about brightness. It’s about control. Professional product photographers manipulate light direction, intensity, and quality to reveal texture, minimize unwanted reflections, and create dimension. Once you understand these principles, even budget equipment becomes powerful.
Key Takeaway
Investing in proper lighting delivers higher ROI than any other aspect of product photography—better than cameras, lenses, or backdrops.
The ROI of Professional Product Photography Lighting
According to 2026 e-commerce analytics, brands that upgraded to professional product photography lighting setups saw average conversion rate increases of 47% within three months. Amazon sellers report that optimized product images can improve click-through rates by up to 35%, directly impacting sales velocity and organic ranking.
The cost-benefit analysis is compelling: a $400 lighting setup can pay for itself with just 15-20 additional sales for most products. Compare this to other marketing investments—paid ads, influencer partnerships, or SEO optimization—and lighting upgrades offer the most predictable ROI.
How Lighting Affects Consumer Psychology
Modern consumer behavior research reveals that lighting quality subconsciously influences purchase decisions. Harsh shadows and poor color accuracy trigger uncertainty, while professional lighting creates trust and perceived value. Studies from Stanford’s Consumer Psychology Lab show that products photographed with professional product photography lighting setups are perceived as 23% higher quality, even when the actual product is identical.
This perception gap matters enormously in competitive markets. When customers compare your products to competitors with professional photography, poor lighting immediately signals lower quality—regardless of your actual product superiority.
Essential Gear for a Professional Product Photography Lighting Setup
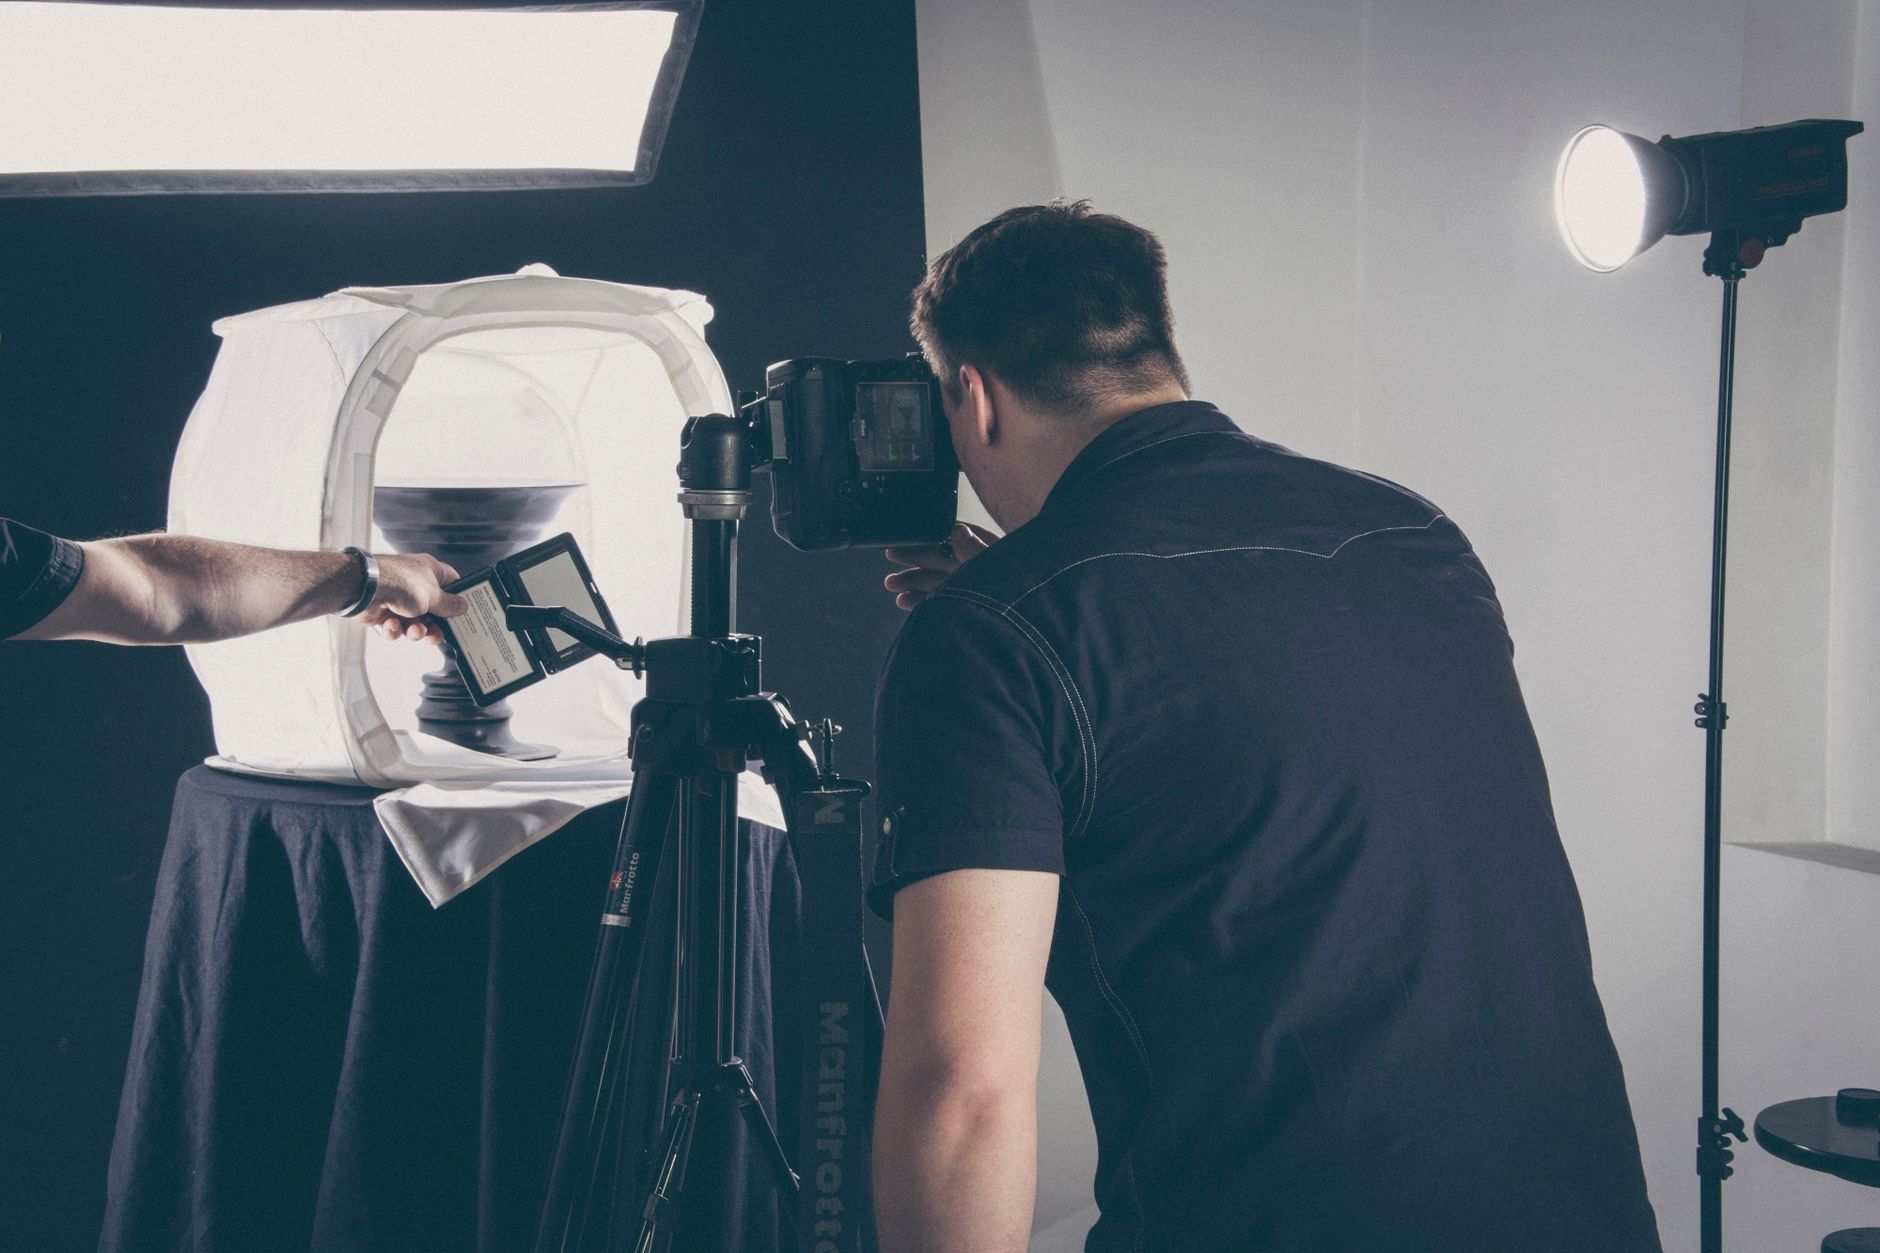
Building an effective product photography lighting setup requires understanding the core components and how they work together. While you can start with natural window light and reflectors, consistent results demand controlled artificial lighting. Here’s what you actually need versus what marketing tells you to buy.
Light Sources: LED vs Strobe in 2026
The lighting landscape has evolved dramatically in recent years. In 2026, LED panels dominate product photography thanks to improved color accuracy, reduced power consumption, and integrated smart controls. Unlike strobes, LED lights show you exactly what you’ll capture, making them perfect for beginners and efficient workflows.
Modern LED panels offer bi-color temperature control (2700K-6500K), smartphone app integration, and color accuracy ratings (CRI) above 95%. Brands like Godox, Aputure, and Neewer now produce studio-quality LED panels under $200 that outperform $800 strobes from just five years ago.
Key specifications to prioritize:
- High CRI Rating (95+): Ensures accurate color reproduction
- Bi-Color Capability: Adjust between warm and cool tones
- Minimum 30W Output: Provides sufficient power for most products
- Flicker-Free Operation: Essential for video content creation
- Wireless Control: Adjust multiple lights simultaneously
Light Modifiers That Transform Your Product Photography Lighting Setup
Raw light sources create harsh shadows and unflattering highlights. Light modifiers shape and soften light to reveal product details beautifully. Understanding which modifiers solve specific problems saves time and money.
| Modifier Type | Best For | Effect | Cost Range |
|---|---|---|---|
| Softbox (24″x24″) | General products, electronics | Soft, even illumination | $40-$80 |
| Strip Softbox | Tall products, bottles | Directional soft light | $30-$60 |
| Beauty Dish | Cosmetics, jewelry | Contrast with soft shadows | $60-$120 |
| Reflector Set | All product types | Fill shadows, add highlights | $20-$50 |
| Diffusion Panels | Reflective products | Eliminates harsh reflections | $25-$70 |
Many beginners waste money on specialty modifiers like snoots, grids, and barn doors. Start with softboxes and reflectors—they solve 95% of lighting challenges in product photography. Once you master these basics, specialty modifiers become tools for creative enhancement rather than problem-solving necessities.
Smart Support Systems for Modern Product Photography Lighting Setups
Traditional light stands work, but modern wireless stands with smartphone control streamline workflows significantly. Pneumatic stands prevent sudden drops that damage equipment, while C-stands offer unmatched versatility for complex setups.
For 2026 workflows, consider stands with integrated cable management and quick-release mechanisms. The extra cost pays for itself through time savings and reduced setup complexity. Professional photographers report 40% faster setup times with quality support equipment.
Essential Accessories That Most Guides Skip
Beyond lights and modifiers, several accessories dramatically improve your product photography lighting setup results:
- Color Checker Cards: Ensure accurate color reproduction across different lighting conditions
- Light Meters (Smartphone Apps): Modern apps like Lux Light Meter provide professional accuracy
- Wireless Remote Triggers: Control multiple lights simultaneously
- Gaffer Tape: Secure cables and position small reflectors
- Lens Cleaning Kit: Keep your camera equipment spotless
Key Takeaway
The quality of your light modifiers matters more than the power of your lights—a $50 light with a good softbox beats a $300 light with no modifier.
Three Product Photography Lighting Setups Compared by Budget
Not every seller needs the same product photography lighting setup. Your budget, product type, and shooting volume all determine the right configuration. Below is a breakdown of three proven setups ranging from absolute beginner to advanced small-business studio, so you can pick the tier that matches your stage of growth.
| Setup Tier | Total Cost | Core Components | Best For |
|---|---|---|---|
| Starter | $80-$150 | 2x LED panel lights, foldable lightbox, reflector board | Side hustlers, Etsy sellers, under 20 SKUs |
| Growth | $250-$350 | 2x bi-color LED with softboxes, light stands, backdrop kit, diffusion panel | Amazon/Shopify sellers, 20-200 SKUs |
| Advanced | $400-$500 | 3-4 LED panels, strip + beauty dish softboxes, wireless triggers, color checker, C-stand | Full-time sellers, agencies, 200+ SKUs |
Each tier is designed to be upgraded incrementally — you’re never buying throwaway gear. A reflector board from the Starter tier still earns its place in the Advanced setup. This modular approach means your product photography lighting setup grows with your business instead of requiring a full replacement every time you scale.
How to Build Your Product Photography Lighting Setup Step by Step
Owning the right gear is only half the equation. How you position and balance your lights determines whether your images look amateur or professional. Follow this sequence every time you shoot to get consistent, repeatable results.
Step 1: Set Up Your Shooting Space
Choose a space with at least 6 feet of depth to separate your product from the background, which reduces shadow spill and makes background removal easier later. Use a seamless backdrop (white, black, or gray) mounted on a stand or simply taped to a wall and curved onto a table.
Step 2: Position Your Key Light
Place your primary light at a 45-degree angle to the product, slightly above the lens axis. This single adjustment does more for product definition than any other step in your product photography lighting setup. For reflective items like jewelry or glass, move the key light further back and increase diffusion.
Step 3: Add Your Fill Light
Position a second light (or reflector) on the opposite side of the key light to soften shadows without eliminating them completely. A fill light at roughly half the intensity of your key light preserves dimension while keeping detail visible in shadow areas — this ratio (2:1) is the industry standard for e-commerce product shots.
Step 4: Use a Rim or Back Light for Separation
A third light positioned behind the product, pointed toward the camera, creates a subtle edge highlight that separates the product from the background. This is especially useful for dark-colored products on dark backgrounds, or for adding a premium feel to electronics and bottles.
Step 5: Test, Review, and Adjust White Balance
Shoot a test frame and check it on a calibrated monitor or even your phone screen. Use a color checker card to set accurate white balance in-camera or in post-production. This step alone eliminates most of the color-cast complaints sellers get from customers expecting a certain shade.
Key Takeaway
A consistent 3-point lighting pattern (key, fill, rim) is the fastest way to make any budget product photography lighting setup look professional.
Adjusting Your Product Photography Lighting Setup by Product Category
Not all products behave the same way under light. What works beautifully for a matte cotton t-shirt will create blown-out hotspots on a chrome kitchen appliance. Below are category-specific adjustments to make to your base product photography lighting setup.
Reflective Products (Jewelry, Glass, Metal, Electronics)
Reflective surfaces bounce light directly into the lens, creating hotspots and visible equipment reflections. Use a light tent or large diffusion panels to wrap soft light around the product from all sides. Position lights further away and increase the size of your modifiers rather than their intensity. Many sellers in this category also do a “clean-up” pass with an AI Background Remover to strip out any remaining reflections or messy backgrounds after the shoot.
Matte and Textured Products (Apparel, Ceramics, Wood)
Textured surfaces benefit from raking light — positioning your key light at a steeper angle to emphasize fabric weave, grain, or surface texture. This is the opposite of what you’d do for reflective items. A single strong key light with minimal fill can actually look more premium here than flat, even lighting.
Transparent and Translucent Products (Bottles, Candles, Cosmetics)
Backlighting is essential for transparent products. Position a light behind or below the product (using a light table or acrylic riser) to make liquids glow and reveal internal clarity. Combine this with a soft front fill to avoid silhouetting the product entirely.
Dark or Black Products
Dark products absorb light and can look like featureless blobs without careful setup. Increase your fill light ratio closer to 1:1 and add a rim light to define edges against the background. Shooting on a slightly lighter gray backdrop (rather than pure white) also helps dark products retain visible detail.
Common Product Photography Lighting Setup Mistakes to Avoid
Even with good equipment, these recurring mistakes undermine results:
- Mixing color temperatures: Combining daylight-balanced LEDs with warm household bulbs creates unfixable color casts.
- Lighting too close to the product: This creates hotspots on reflective surfaces and uneven falloff on larger items.
- Ignoring the background light: A separately lit backdrop prevents muddy gray backgrounds that are hard to clean up in post.
- Skipping a gray card or color checker: Without a reference, white balance correction in editing becomes guesswork.
- Overexposing to “fix” it in post: Blown-out highlights cannot be recovered; it’s always better to expose correctly in-camera.
- Forgetting consistency across a catalog: If every product listing uses different lighting, your storefront looks disjointed and unprofessional.
Pairing Your Product Photography Lighting Setup with Smart Post-Processing
Even the best product photography lighting setup benefits from thoughtful post-processing. In 2026, AI-powered tools have made professional-level editing accessible without a Photoshop subscription or years of retouching experience.
After your shoot, three editing tasks typically remain: cleaning backgrounds, correcting resolution/sharpness for marketplace requirements