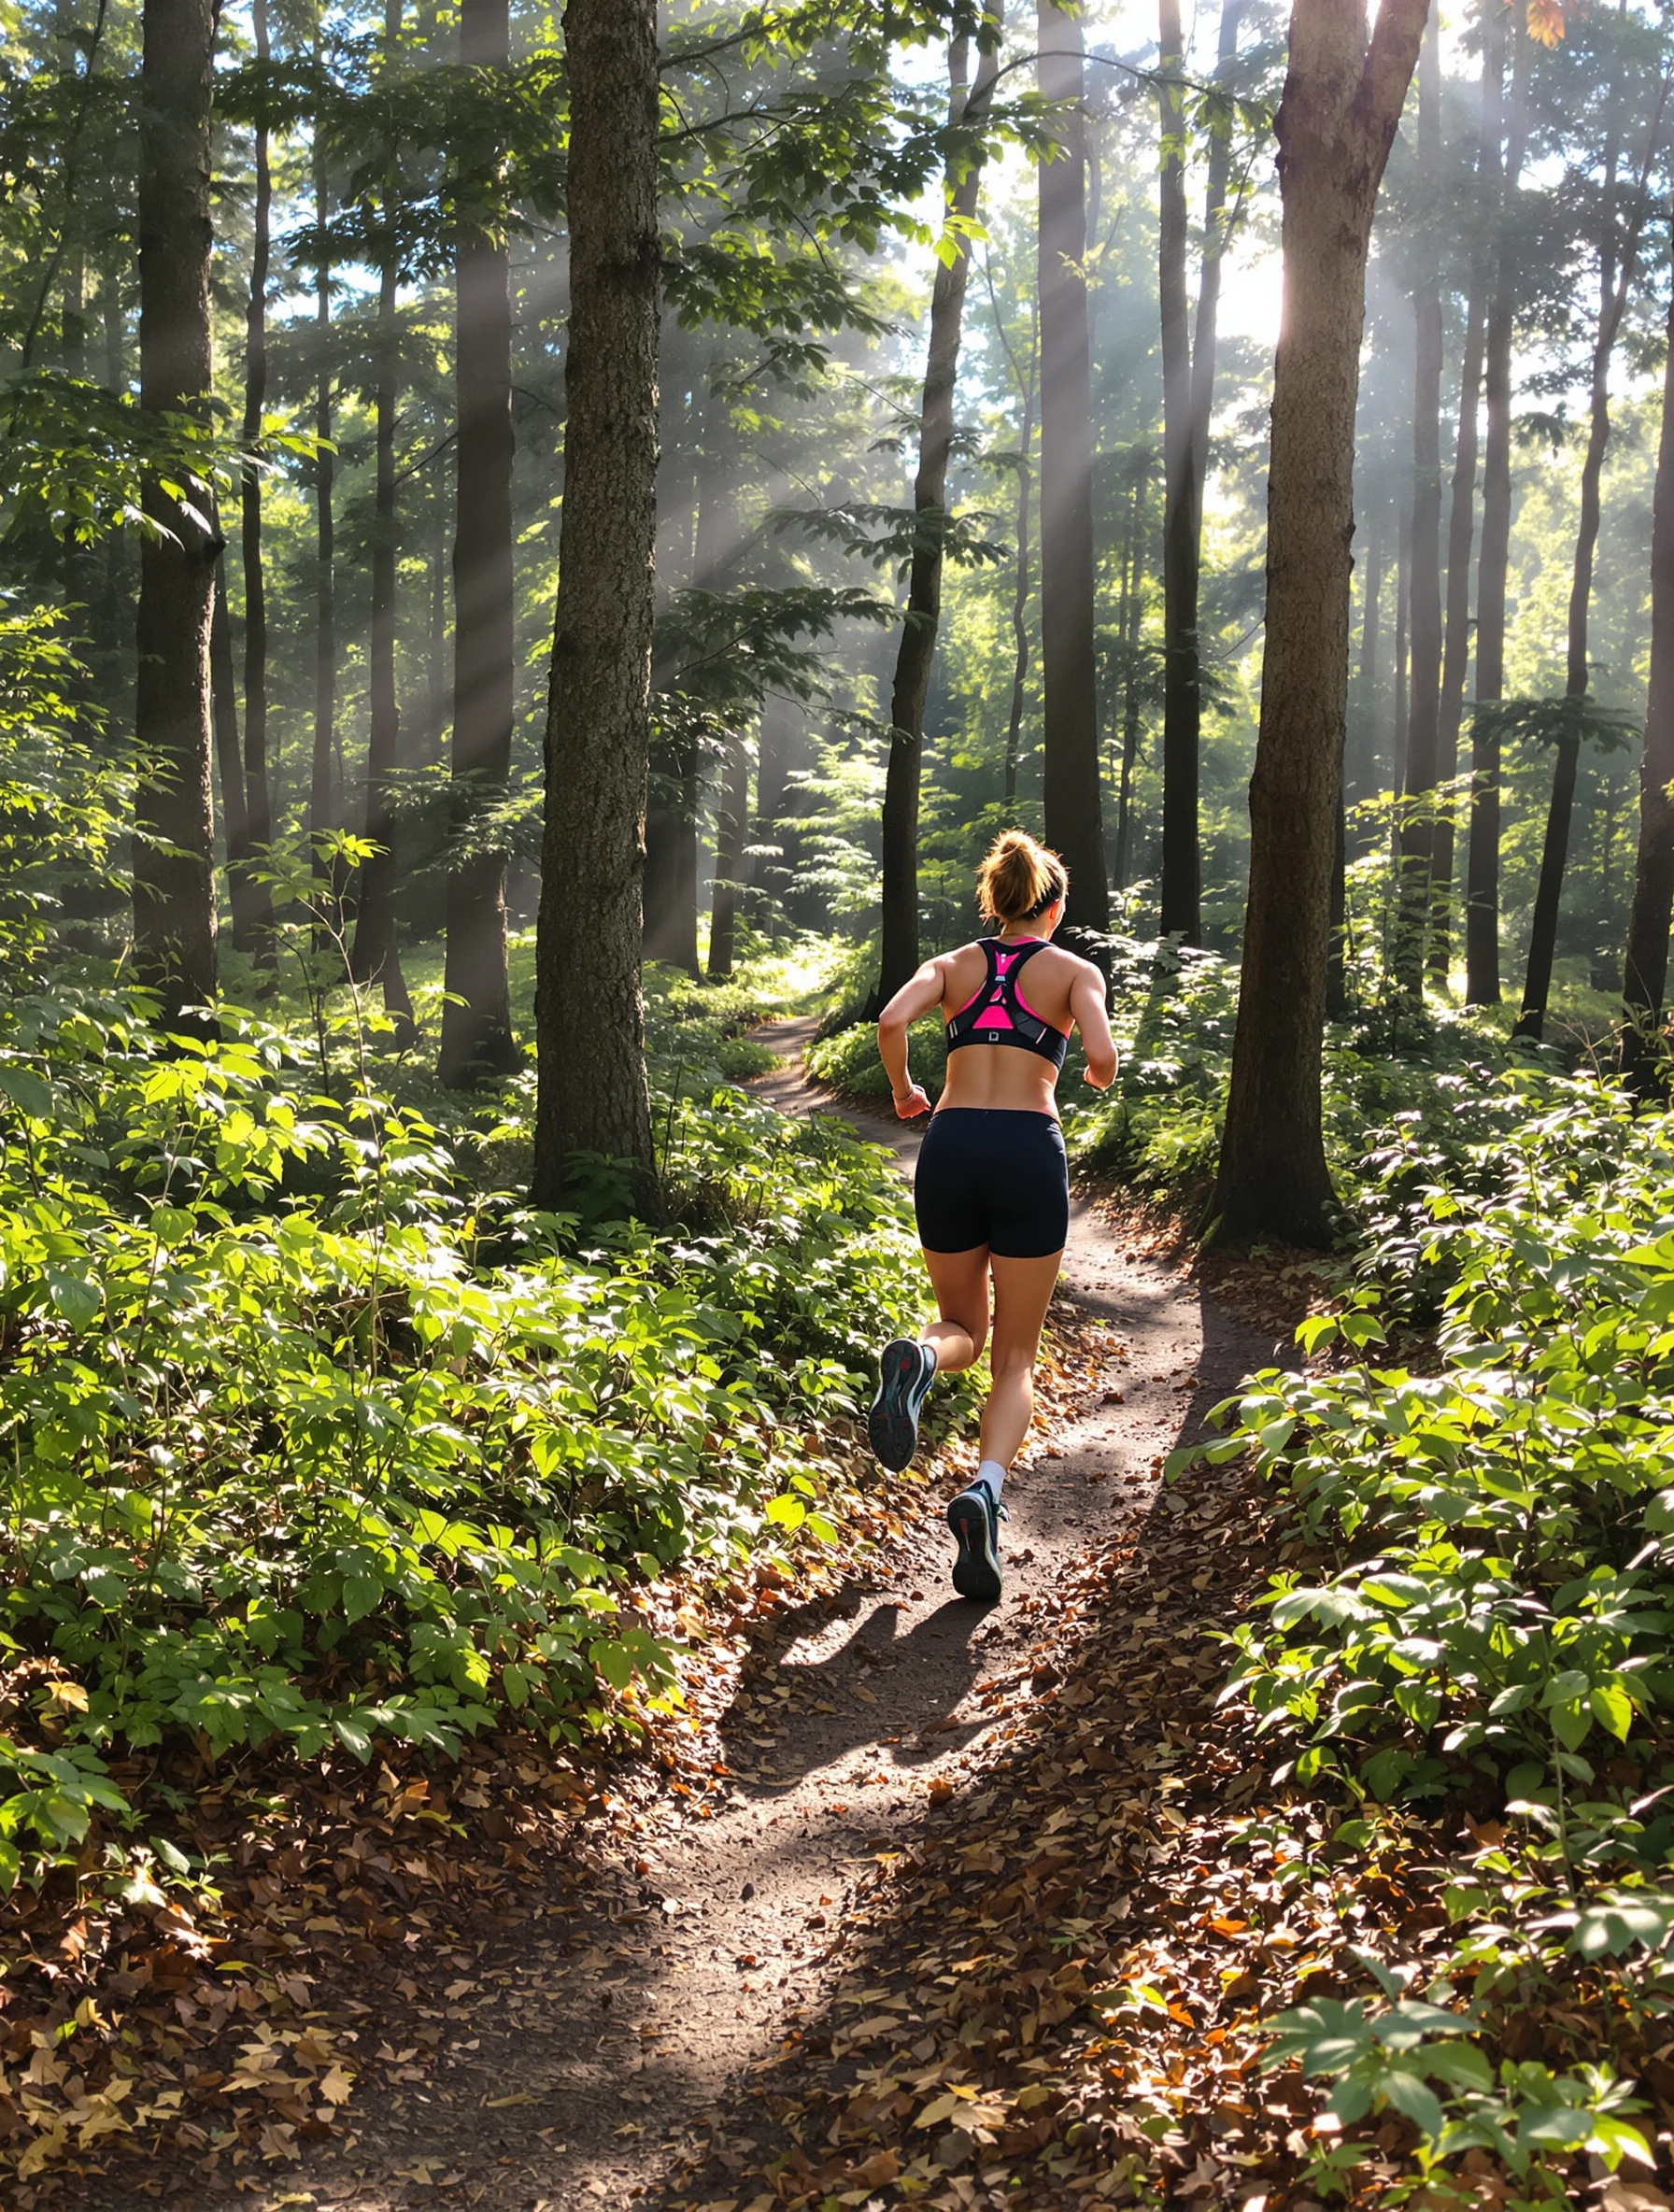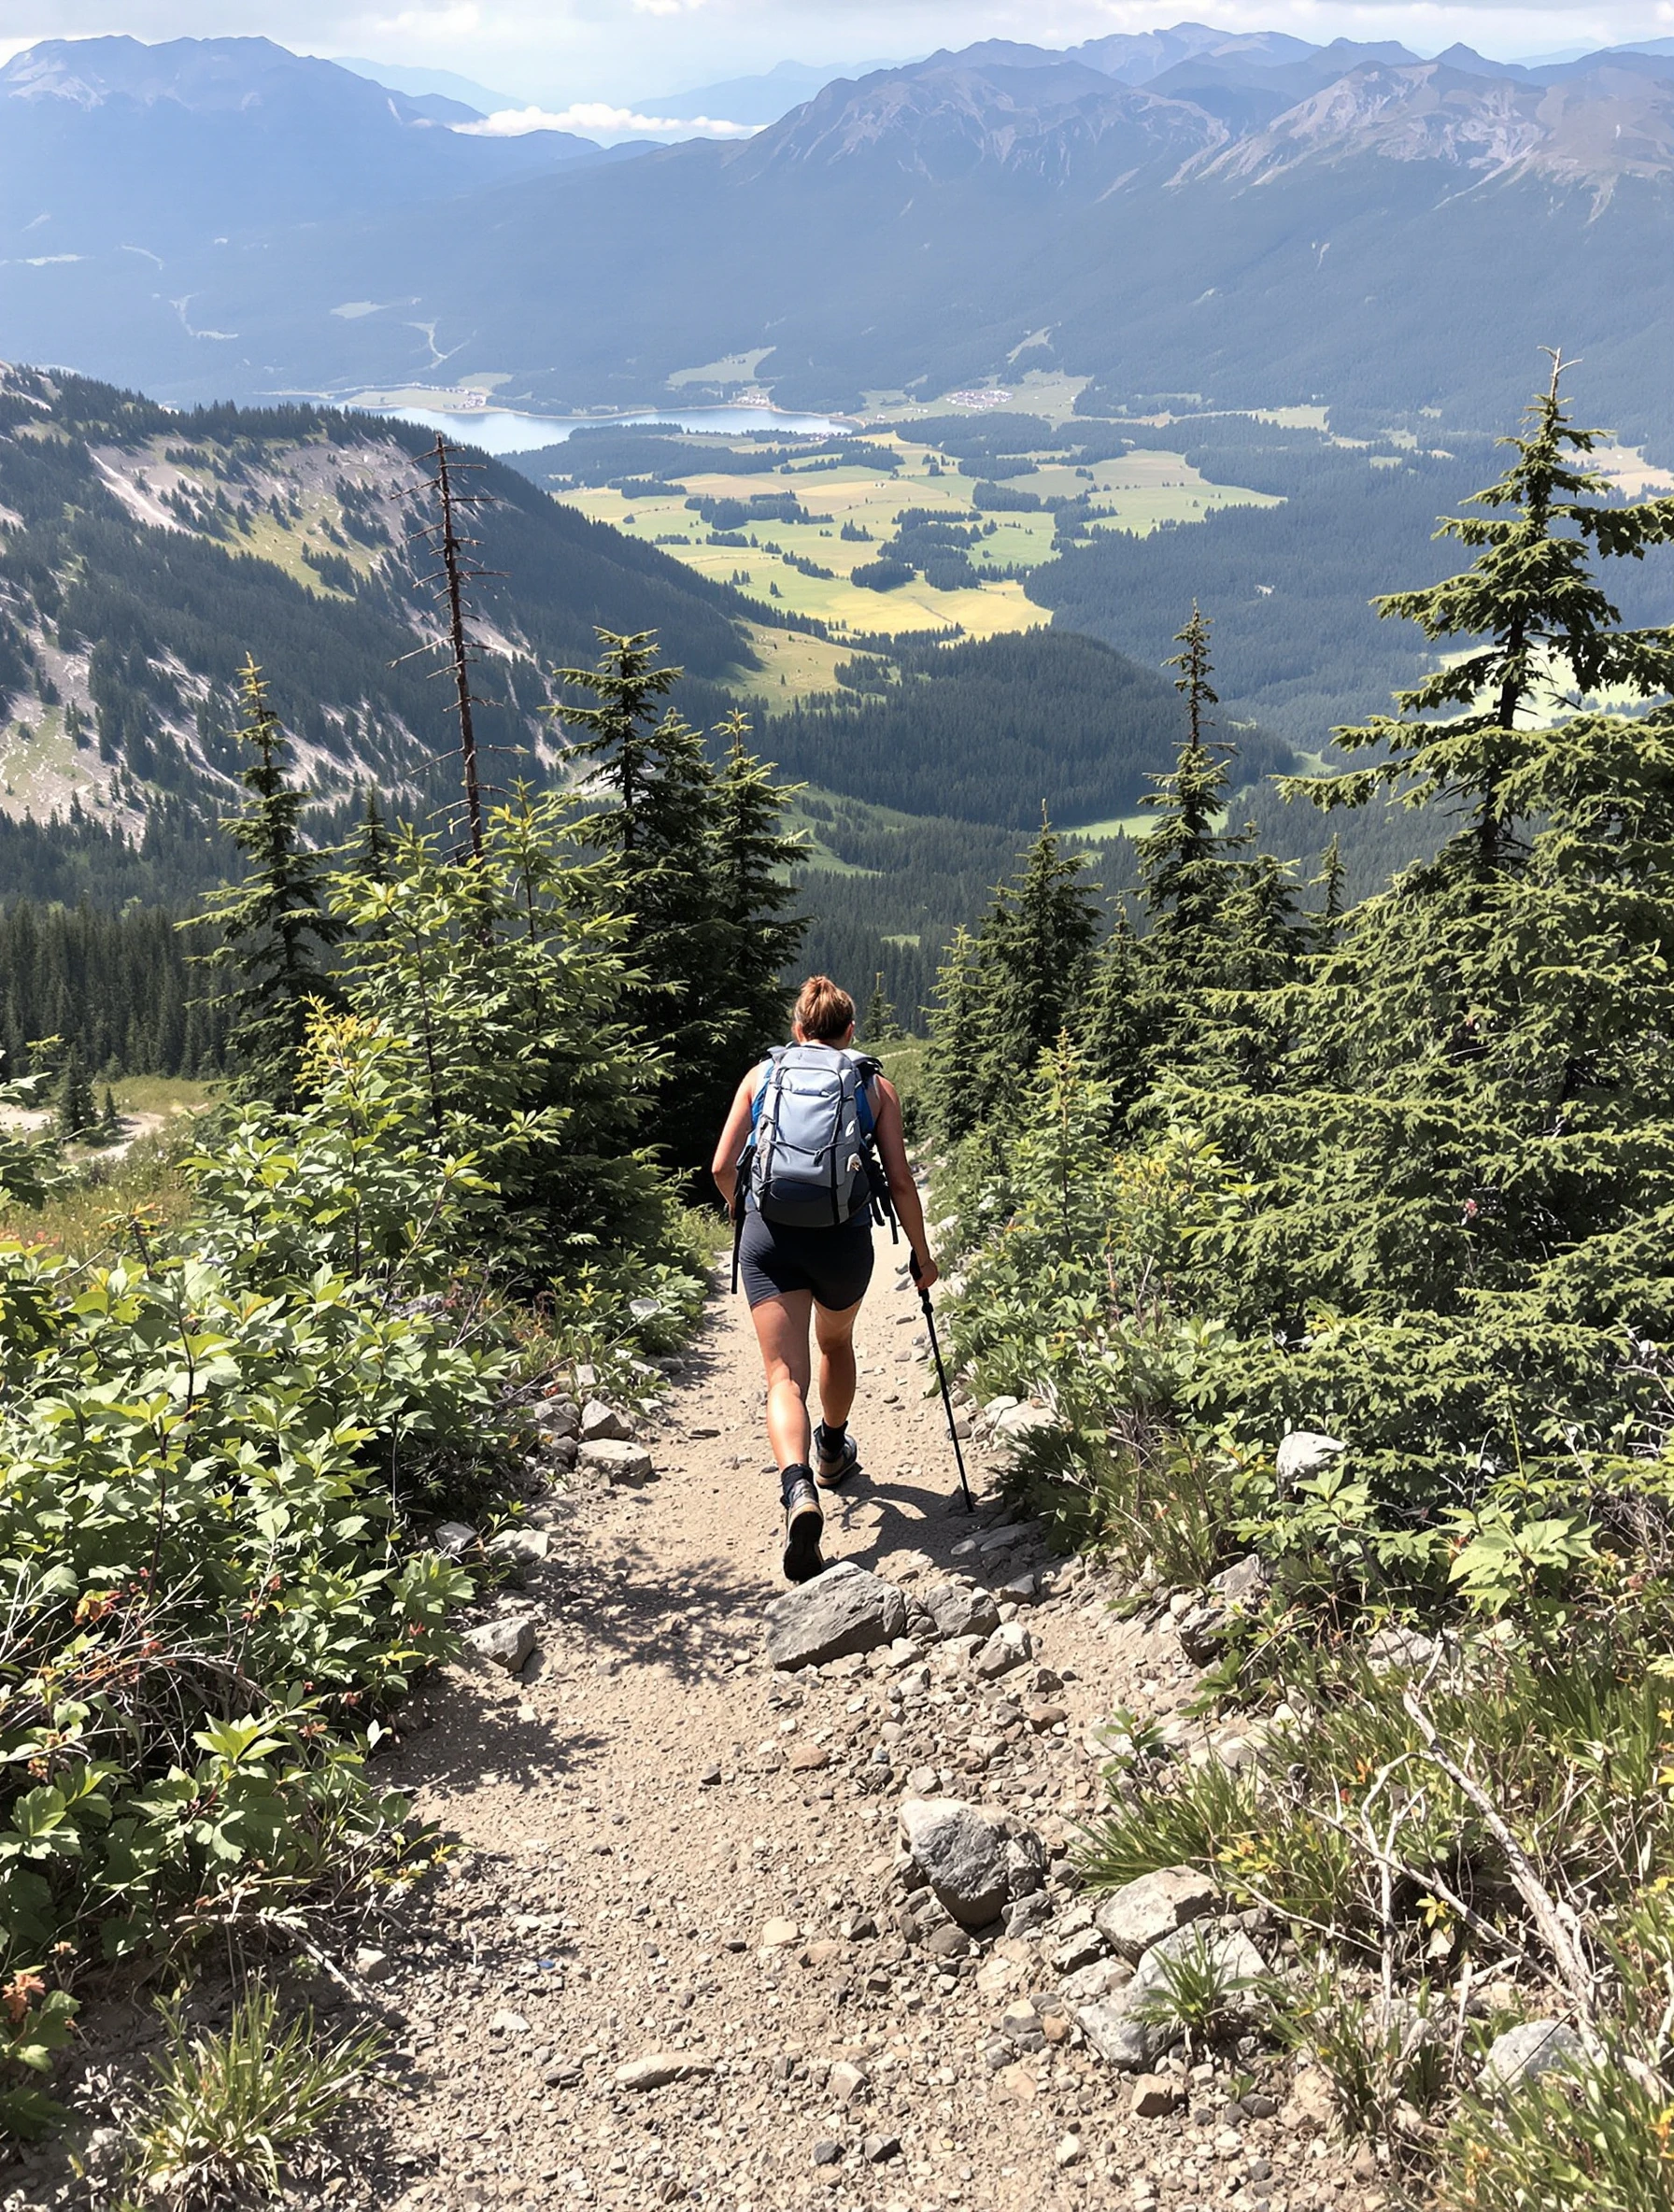
Woman hiking up steep mountain trail, scenic wilderness all around. Hiking boots and gear, challenging terrain, outdoor fitness, adventure.
Woman hiking up steep mountain trail, scenic wilderness all around. Hiking boots and gear, challenging terrain, outdoor fitness, adventure.
Free to Use (CC BY 4.0)
This AI-generated image is free for personal and commercial use. Just include a link back to PixelPanda.
Perfect For
About This AI-Generated Lifestyle Photo
For fitness content, that mid-effort read matters more than a scenic summit shot. Followers looking for hiking or trail training want proof of terrain: grade, footing, gear that has been used. A photo showing the boot placed on an uneven rock says more about difficulty than any caption. It also gives you flexible crops, a vertical for Reels covers and training plan promos, a wider horizontal for gear reviews and route write-ups.
To recreate it, shoot from lower on the trail so the camera looks up the slope and the grade exaggerates itself. Keep the trail continuing out of frame so the climb feels unfinished. For older hikers or beginners, swap the steep rock step for a graded dirt path and add trekking poles. For ultralight or trail running content, trade boots for low-cut shoes and shrink the pack.
Tips for Lifestyle Photography
- Shoot from several steps below on the trail so the incline reads steep instead of flattening into a walkway.
- Catch the moment the rear heel lifts off a rock step; a planted, level stance kills the sense of effort.
- Let boots, laces and lower legs stay in frame so viewers can judge the terrain underfoot.
- Keep the trail exiting the top of the frame so the climb feels ongoing rather than finished.
Frequently Asked Questions
Why do hiking photos look flatter than the climb actually felt?
Camera height is usually the culprit. Shooting from the same level as the hiker, or from above, compresses the slope into what looks like a flat path. Dropping the camera lower on the trail and angling up restores the grade, and including rock steps or exposed roots at the bottom of the frame gives viewers a reference for how uneven the footing is.
Should the hiker face the camera or be shot from behind for fitness content?
A three-quarter view like this one works best. Full frontal turns it into a portrait and loses the sense of forward motion, while a pure back view hides expression and effort. Angling the body up the trail with the face partly visible keeps both the climb and the person readable, which matters if you are building a coaching brand.
What gear details make a hiking photo look genuine rather than staged?
Wear, not brand new items. Scuffed boot toes, a pack with the hip belt actually buckled, sleeves pushed up, a water bottle within reach. Clean gear with tags-off stiffness reads like a rental. Adjust straps and pockets before shooting so nothing hangs loose in a way an experienced hiker would have fixed.
Technical Details
Side-back daylight rakes across the slope, separating the hiker from a hazed valley behind with a moderately shallow depth of field. Low camera angle, three-quarter framing, and cool blue-green distance against warm skin and rock tones.